Powered by Blogger.

Followers

My Timeline

Wednesday, March 20, 2013

I'm in slow motion lately, I start to get things done and then I end up in a dead stop and waiting weeks to finish. I am so happy to be working on Shila's room since she has been stuck in her brother's room for almost a year and it is far from girly.  If it was up to Shila her entire room would be covered in pink and princesses but I know she won't love princess forever and a load of pink might make me a little dizzy when I go in to play.  So I wanted something colorful and bright, which defiantly reminds me of my lively 3 year old. So I went on a trip to Lowe's and looked through the paint samples and came across the perfect color.


It's called Dive In by Valspar and it is beautiful.
I've learned over the years the best thing to do is prep the space before you start painting. File in any holes and sand any rough spots, but our walls were hole free and professionally painted before we moved in so my big step was taping. It takes a little while and is pretty boring, but it is a must! And if you really want a clean line, by the green tape. I've tried all of them and haven't had a better edge than with my frog tape. In fact I still have to redo the dining room from where my beautiful navy blue bled through the blue tape.

So after a lot of tape and plenty of plastic on the floor I started with one wall at a time.  I trim out a wall and then use a roller to paint. This helps keep from a distinctive line around the trim from your paint drying and not blending. I also do it to feel like I completed something since I have to take many breaks checking on, feeding, and giving naps to the kids. This was were I got before my kids decided they were starving.


But withing a couple hours I was done! And I must say I love it so much. It goes great with all the pink things she wants in her room.


Now time to get the bed in!

Monday, February 18, 2013

It's a little sad to say that we have lived in our house for 10 months and my 3 year old daughter is still bunking in Mason's room. For the longest her room has been a toy warehouse that we don't even really look at anymore.  So I finally got up the nerve to start on it. So during all the playing I have to keep in the back of my mind that even though this is Shila's room, she will one day be joined by her little sister, Alaya, so I might as well design with her in mind too. Even though I am known to change me mind on design constantly, I hope to make it were I would only need minimal changes to make me happy, I mean Shila...

Most smart people start with the paint, but I couldn't do something like that, I started with the bed! Shila had been telling me for months that she wants an up-bed like Mason so all I had to go on was she wanted have a bed where she climbed something to get into it. That is scary when I think about Shila, she is known to be clumsy.


When she was 2 years and 2 days we went on our daily walk to Mimi's house. I also took pictures on our walks through the country. Isn't she a doll, this kid is the cutest!


Well on the way back she started running and I yelled "Don't run! You'll fall!" Then she fell and busted her lip open. We spent the evening in the ER and 4 stitches later she looked like this.


It was a long and horrible night but luckily she verily has a scar and when she gets older a little lipstick will cover it. 

Then last year she was feeding the dogs with her daddy, she was sitting on the four wheeler while her daddy watered the dogs when she decided to climb off. She successfully got off the four wheeler, but broke her arm in the process. So a sad couple of nights in the hospital and a couple lovely drawings from Mason.


She spent her 3rd birthday like this...

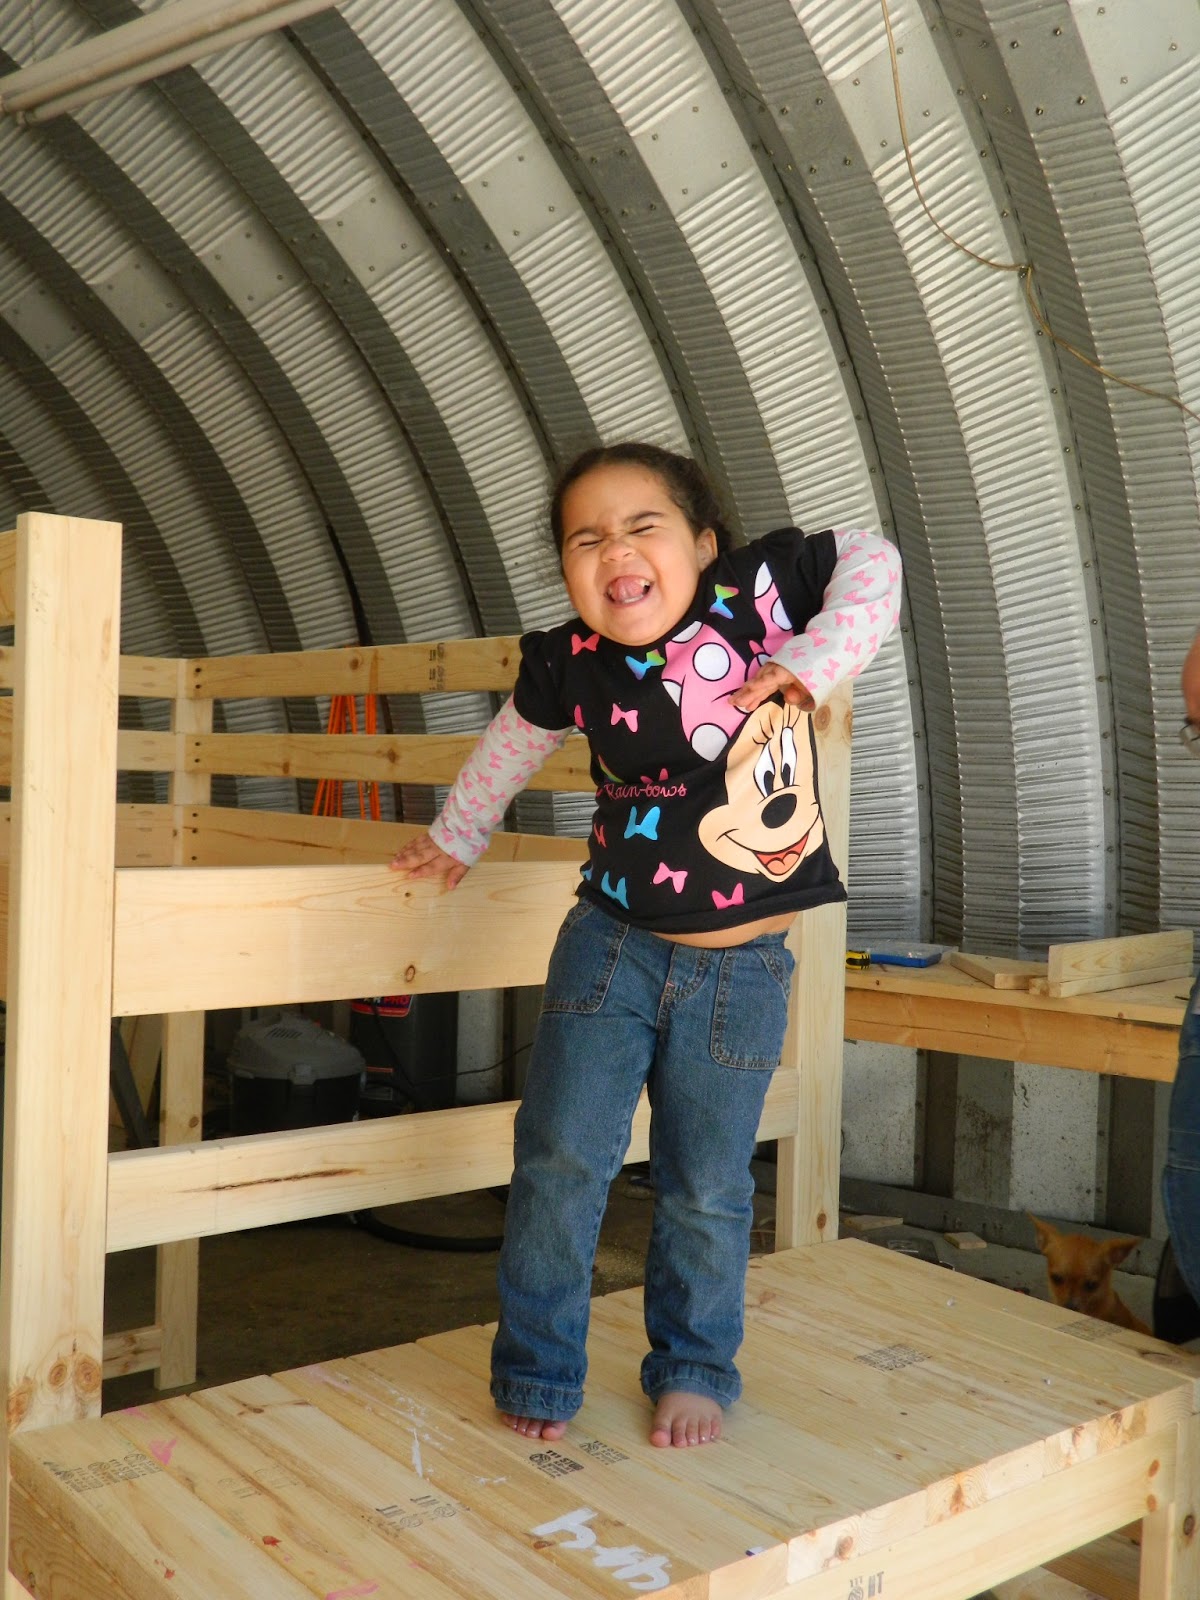
Soooo, I don't know about bunk beds. Luckily I have and obsession with Ana White and spend hours looking at her page and planning all the things I can make but don't have the time too. I came across her plans for the Camp Loft Bed with Stairs and I knew it was meant to be. Then I procrastinated for months until I got a 50 dollar gift card for Lowe's and decided that was the perfect incentive to build her bed. So with the help of my dad I loaded all the lumber and kreg jig screws I needed and got started on the build.


 I started the project alone, but was soon criticized by my dad that I didn't perfectly level every thing so this is what I did by myself. It looks good to me!


Then my dad, Barney, stood by just to help hold things and include jack-A comments about what I was doing, but in my family sarcasm is how we show love. He was pretty helpful... 


Don't ask me why, but once I finished the bed and everyone came to see it, I really wanted a picture with my girls. I had been out in the dirty shed for hours and had no makeup and verily even brushed my hair, but if I waited to take pictures every time I looked amazing, I wouldn't have any.  So this is my glee to know I spent the day making something for two of the loves of my life and they seemed to enjoy it too.

Shila did more than Alaya!


Even Dottie loved it.

Now to finish the sanding, filling, and painting :( Alaya was my helper when it came to spraying the bed, not really she just watched me set up.


BAM! White bed! I love having a paint sprayer! It makes the process so simple, I just spray, sand, spray, sand. It takes a lot less time then with a brush or roller.

Isn't it beautiful???


Friday, February 8, 2013

Just let me apologize that the pictures aren't the best. There are two pictures that were taken years ago and the rest are from my phone since Shila has stolen my SD card for the millionth time.
Okay so sometimes I just get hit with genius, well what I think to be really good ideas. My husband usually stares at me like I'm an idiot when I start talking about what I can make or do, but he is a good sport and usually just says okay. The main reason is that I usually do things by myself unless I really get stuck or frustrated.  So one day a couple years ago I was with Shila, she was maybe 1 and a half, and we were going through our local thrift store when she saw something she had to have.


Oh yes a Wall-E table and chairs for tea parties. It is a great set, no tears or broken pieces, but it's yellow and has Wall-E on it! So I went to Walmart one day and found a table cloth and cut it up and put it on table and presto! great table and chairs!


THENNNN WE GOT CATS! And before I knew it the cats had found the perfect place to claw it's nails into. Before we knew it they had pulled giant holes out of the table cloth and it looked like this.


It was pretty gross and it sat like this for awhile. So one day I was at Michael's and I stared at the duct tape for a couple minutes. So I bought 2 colors, white and pink, and started to work out how I was going to use them. Like most people, I am obsessed with chevron patterns.  I find myself wanting to do a chevron pattern on anything but I have not put it into my house yet, so I thought this would be perfect way.


So I unscrewed all the pieces I wanted to fix and removed all of the nasty table cloth parts. With the chairs I just started by covering a top corner with one piece of tape and working out from then. The best tip is to use a good pair of scissors, mine were HORRIBLE and took longer than it should.

Isn't it beautiful! I still needed to respray the metal pieces, but I'm the only person who seems to see the yellow popping out. The table was the hard part that need some real thought and .... math :(

So I pulled out the ruler and pen and got started with a simple triangle and worked from there. 


It took an hour and a half, in the middle of the night, on my bed, to get it finished but I really enjoyed the process. When I was done I was really happy with how it turned out and Shila was even more excited.


Ugggg so much better! 


Saturday, September 22, 2012

My colors for the nursery are kid of bright, so the wall color was going to have to be more of a neutral and currently I am obsessed with grey. So I got some low VOC paint and a mask and got to work. My parents watched the kids and my husband mowed the yard.

Then the husband got involved and helped me install my peg board organizer above the changing area.


 So I went to the Home Depot and got some organizing baskets for the pegboard and made a place for all my changing nick nacks.


 It makes my life so much easier and I used the spare felt to make flowers to girly it up a bit.


And my inspiration, the chevron quilt I made for my sweety. It's not perfect but it means a lot to me.


Thursday, September 20, 2012

So I am addicted to Pinterest, like most women are, and I was obsessed with pinning ideas for Alaya's nursery.  So when trying to come up with an idea for a mobile I came across The Winthrop Chronicles and their Pom Pom Tutorial and knew that this is what I wanted to do for the nursery.

And it took FOREVER!  You have to cut out circles, then fold the circles, then burn yourself with hot glue. I love a hot glue gun, but I'm horrible at burning myself with glue.  I will one day be able to rob a bank and leave no finger prints because I'm very close to burning all of them off.


My original idea way I was going to use yellows and pinks in the room since I had already made a quilt for her (her background in the month by month pictures.) But then I came along some turquoise storage bins at Lowe's and decided to turquoise to my color scheme.
I used a embroidery hoop to hang them from and Shila had some problems with that.

Poor curly headed girl.


So when I finally finished, it looks like this.


I hope you like it.
Okay so around late April or early May, I was freaking out.  This was what my nursery looked like and I was due to have a baby June 22. So i decided to get to work.


My sister gave me her old changing table and crib since I had been planning to redo an old crib, but I couldn't find a yard sale crib set that I liked. This is the before.


Then I pulled out my orbital sander and attacked that thing! I just needed to get the glossy finish off of it since I was planning on painting it.  


I also had some great helpers. Shila spent the time either walking Dottie or trying to talk me into letting her paint.


She usually gets what she wants, I mean look at those chub cheeks. I can't help it sometimes.


I used Valspar's Multi Purpose Primer to make sure the paint sticks. This stuff is thick! Almost like a goo instead of a paint, but that makes it stick great.


This was after one coat with a sponge roller and a brush for the cracks.


Then we took a 4-wheeler break!


And the second coat really covered all the dark spots that might have showed through when we put on the color.


So I started out by painting the pink on with a brush, it was taking forever!!
So I finally got up the nerve to try out the Christmas present my husband had bought me.

So I set up a painter's canvas and some plastic and made myself a spray station. When I first showed my husband this picture, he was so mad at me. I guess my forgetfulness made him think that I sprayed the metal shed pink. I don't know why he'd think I would do something so crazy, I guess because the deck at our old house has white paint drops all over it ;)

I'll post the finished project in my Nursery reveal!